There’s something kind of poetic about unwrapping a car.
Not the first time, when it’s all about new colors, fresh branding, and photo ops in the parking lot. But later—when it’s time to take it off. When the look has faded, the messaging has changed, or the vinyl’s just had its day. That’s when the real work starts. Because let’s face it, removing a wrap isn’t as glamorous as putting one on. It’s sticky, awkward, and sometimes frustrating.
But it doesn’t have to be. Not if you know what you’re doing—or at least know what to expect.
When the Wrap Starts Whispering, “Let Me Go…”
If you’ve been living with your vinyl wrap for a few years, chances are it’s started showing signs that it’s ready to retire. You might notice some edge lifting or tiny cracks starting to web across the surface. Maybe the color’s not quite as bold, or the corners feel brittle. That’s the wrap’s way of saying, “Hey, I’ve done my job—let’s wrap this up.”
This stage is critical. Wait too long, and that crisp, clean removal turns into a messy battle of fragments and residue. Get ahead of it, and the process becomes almost—dare we say—enjoyable.
Why Low and Slow Wins the Race
Forget what the internet says about blasting your wrap with a heat gun like you’re torching crème brûlée. Overheating can fry your paint or make the vinyl rubbery and harder to control. What really works? Gentle, patient heat. Something more like a warm towel than a blowtorch.
This method is often referred to as low-heat peeling. And yeah, it takes longer. You’ll need to work section by section, gradually loosening the vinyl from the surface, pulling at the right angle, using controlled tension. But that slower pace saves your paint—and your sanity.
Pro tip: keep the heat gun moving in small circles about 6 inches from the surface. And don’t yank. Let the vinyl stretch and release naturally.
Peeling Is Only Half the Story
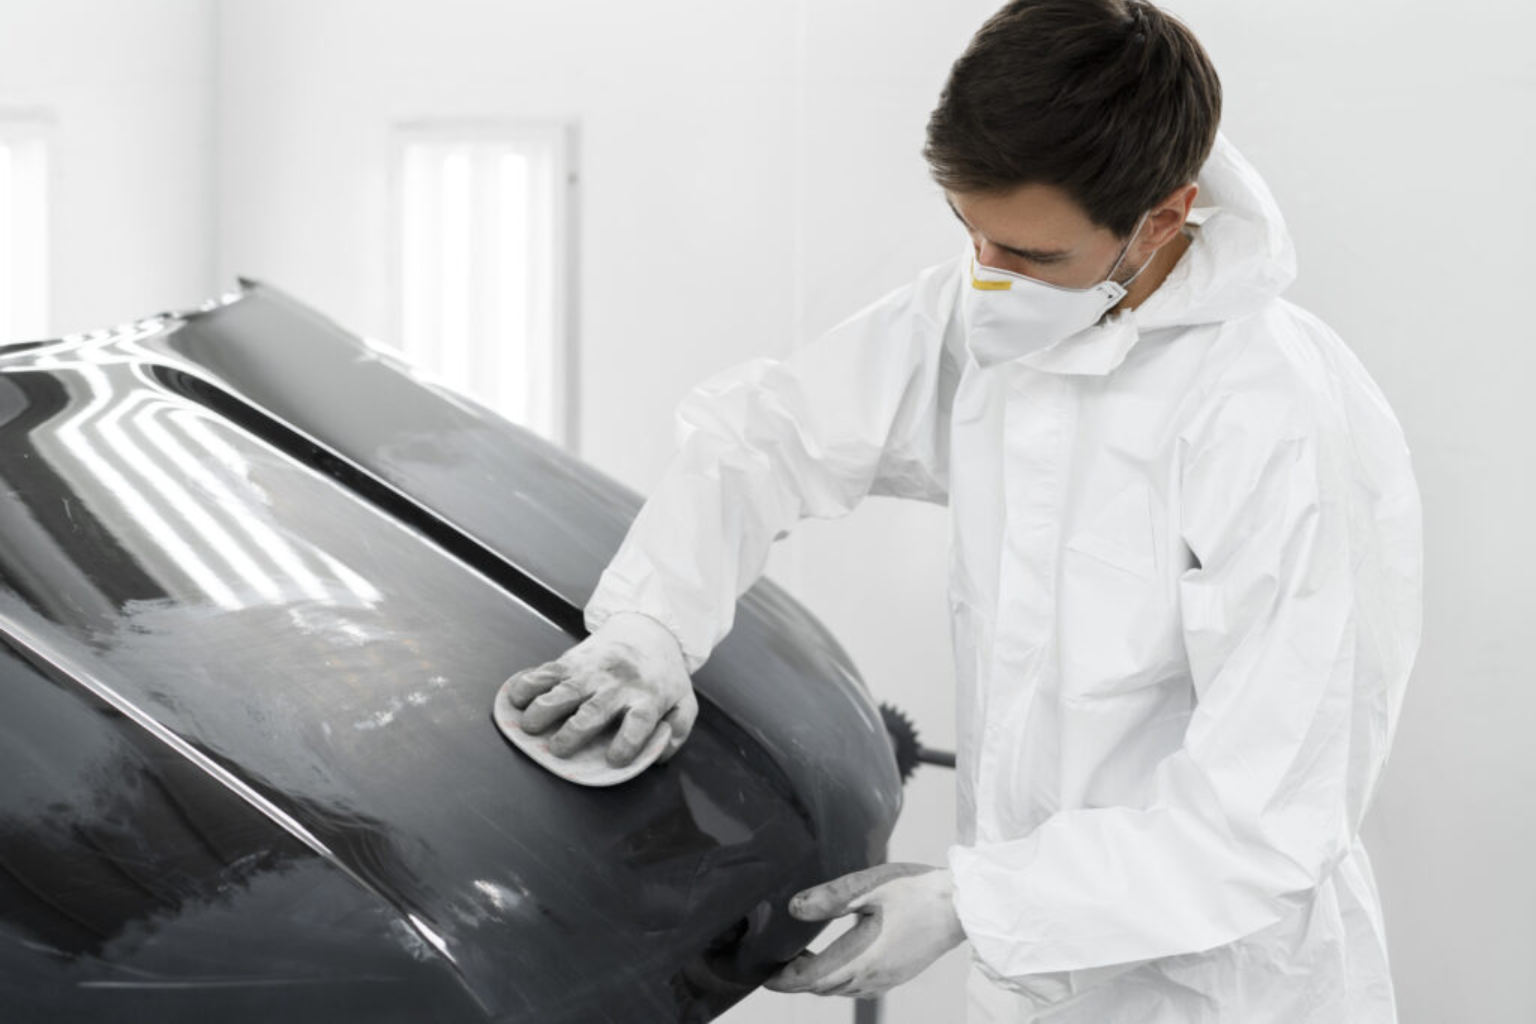
Now here’s the part nobody talks about at the start—the leftovers. Even after the wrap’s been pulled off, chances are your vehicle will still feel… sticky. That’s because most vinyls leave some adhesive behind, especially around the edges and contours. It’s not a disaster, but it is a chore.
This is where adhesive cleanup comes in. And no, water and elbow grease alone won’t cut it. You’ll want something like a citrus-based adhesive remover—safe for clear coat but strong enough to cut through the tacky mess. Apply it with a microfiber cloth, let it soak a few minutes, and then gently rub the area until the residue lifts.
Just remember: this isn’t a “scrub till it shines” situation. Be kind to your paint. Use light pressure. Reapply if needed. Take your time.
Restore the Surface, Don’t Just Clean It
Even with a successful wrap removal and cleanup, your vehicle’s surface might not look showroom-fresh right away. Especially if the wrap’s been on there for years. Sun fading, minor scratches, uneven gloss—all pretty normal after vinyl comes off.
So, before you jump into your next wrap (or even if you’re leaving the paint bare), spend a little time on surface restoration. This could mean a light polish, clay bar treatment, or even a professional buffing session. Think of it as a reset. It smooths everything out, evens the finish, and gives your ride a clean slate.
And don’t skip this step if you’re planning to re-wrap soon. A flawed surface underneath will only show more over time under the next layer of vinyl.
Fleet Wraps: A Whole Different Ball Game
If you’re managing multiple vehicles, things get a bit trickier. Timelines, consistency, and quality control all matter a lot more when you’re dealing with a whole fleet.
Removing wraps from dozens of vehicles isn’t something you want to figure out as you go. It takes planning. Budgeting. Skilled labor. Even mobile teams if your vehicles are scattered across cities or states. If that’s you, just know that coordinating wrap removal is as much logistics as it is technique.
Make it part of your maintenance strategy from day one. That way, your branding stays fresh—and your vehicles stay in good shape for whatever comes next.
Don’t Get Fooled by Cheap Films
A quick side note worth mentioning: not all vinyl is created equal.
Lower-grade films might save you money on the front end, but they often become brittle sooner and leave behind more residue. Premium brands, on the other hand, are engineered for both performance and easier removal. It’s one of those “pay now or pay later” situations.
If you skimped on quality the first time, be ready for a longer removal process. It’s doable, just more tedious. And if you’re considering your next wrap, keep that lesson in your back pocket.
The Psychological Game of Peel-and-Remove
Okay, maybe this is a little dramatic—but there’s a mental side to wrap removal.
You start out excited. You think, “This’ll take what, an hour?” Then you hit a stubborn patch. Then another. Then your hands get sore, and you’re cursing the day you ever got that wrap in the first place.
Stay cool. Put on music. Take breaks. Break it up over a couple of days if you need to. There’s no shame in calling in the pros either—especially if you’re running low on time or patience.
Tools Make a Difference (So Don’t Use a Razor Blade)
We can’t stress this enough: do not use a razor blade on your car’s painted surfaces. Ever.
There are proper tools for wrap removal. Plastic scrapers, heat guns, adhesive removers, microfiber towels. You don’t need a ton of gear, but having the right ones will save you time and prevent damage.
Some installers even use steamers for particularly tough jobs, which offer heat without the harshness of a gun. It’s a gentler way to soften up old vinyl and coax it away from the surface.
After the Peel: Give It Some Love
Once everything’s off, take a step back and admire the work. Feels good, right? Like you gave your car a fresh start. That’s the beauty of temporary customization—you get the best of both worlds. Style when you want it. Simplicity when you don’t.
But don’t leave things hanging. Wash the surface. Apply a quick detail spray or wax. Keep the newly exposed paint protected, especially if it hasn’t seen the sun in a while.
You might even discover you like the bare look. Or maybe you’re already dreaming about the next design. Either way, you’re starting fresh.
Wrap-Up (Pun Intended)
Removing a vehicle wrap isn’t rocket science, but it is an art. It takes a bit of patience, some good tools, and a lot of respect for your paint. Whether you’re a business owner switching up your branding or a car enthusiast ready for a new look, know this: the removal process deserves as much attention as the install.